
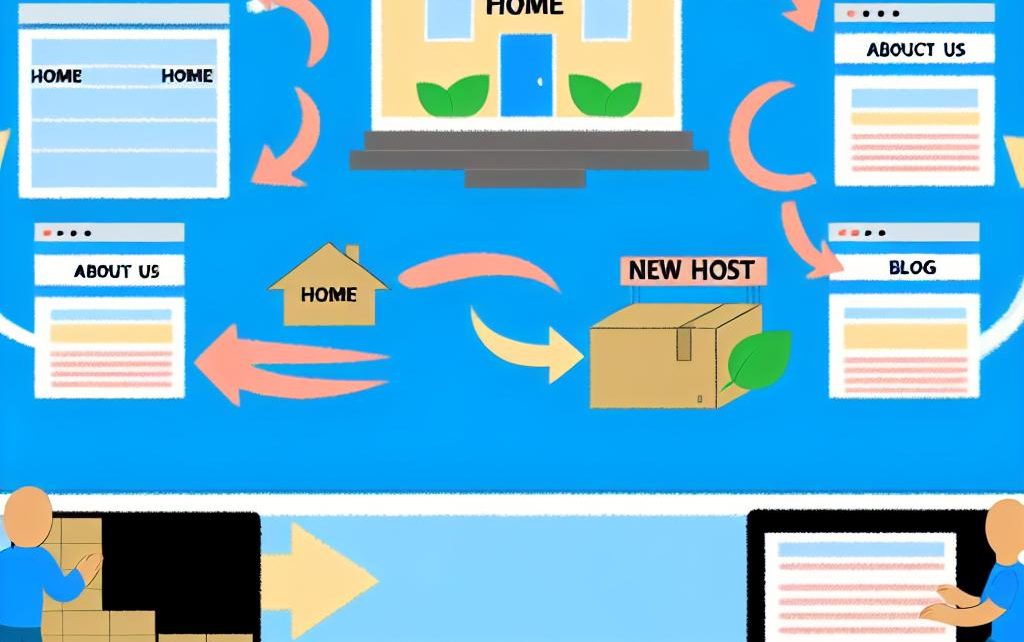
Understanding the Basics of Website Migration
Migrating a website from one host to another can appear overwhelming, but with meticulous planning and execution, it can be a straightforward and seamless experience. Website migration involves several key steps: backing up your data, transferring files to the new host, updating domain name system (DNS) settings, and finally, testing the new setup to ensure everything runs smoothly. This guide ventures into these stages in detail, focusing on strategies that result in minimal downtime and uninterrupted service for your site.
Backup Your Current Website
One of the foundational tasks in the migration process is creating a complete backup of your existing website. This step is vital to ensure that you have a secure point of recovery should any issues arise during the migration. A thorough backup encompasses not only your website files but also databases and emails. Your control panel in the current hosting environment generally provides tools to generate backups. In addition, third-party tools can offer a more comprehensive backup solution, adding a layer of redundancy. Having a complete, recent backup can drastically reduce downtime if restoration becomes necessary.
Choosing a New Host
The next critical step in the migration process is selecting a new hosting provider that aligns with your website’s requirements. This choice hinges on several important considerations, such as server uptime reliability, quality of customer support, scalability options, and overall cost efficiency. Evaluating hosts that offer a free migration service can simplify your transition significantly. Furthermore, it’s essential to confirm that your new hosting provider supports the necessary technologies your website depends on, such as programming languages, database systems, and other software configurations.
Download Files from the Current Host
Once you have backed up all essential data and identified the new host, the next step involves downloading files from the current host. To accomplish this, you’ll use protocols such as FTP (File Transfer Protocol) or utilize a control panel interface. Maintaining the existing directory structure during this download process is crucial to avoid any complications during file transfers. Additionally, use database management tools such as phpMyAdmin to export your database files. Ensuring every file and piece of data is properly downloaded is imperative for a smooth transfer to the new host.
Upload Files to the New Host
With all files secured, you will now access the control panel or FTP server of your new host to begin the file upload process. The procedure involves uploading your entire directory of website files as well as creating a new database to house your data. This database will serve as the backbone for your website’s functioning. An important step during this process is updating configuration files like wp-config.php in the case of WordPress sites, ensuring that they point to the newly created database setup.
Testing the Setup
Before the final step of updating DNS settings, it is advisable to test your website setup on the new server to confirm that all components are functioning correctly. This can be achieved by making a modification in the hosts file on your local computer. By temporarily redirecting traffic through this file, you can access your site on the new server without impacting live users. Testing should encompass verifying the operation of all critical functionalities, including forms, database connections, and email configurations, to ensure a seamless transition.
Update DNS Settings
Once testing validates that your site operates correctly on the new host, it is time to update your DNS records. This step is crucial as it redirects users from the old host to the new server location. Be aware that DNS updates can vary in propagation time, ranging from a few minutes to potentially 48 hours globally. During this period, different users may find themselves accessing either the old or the new server until propagation is complete.
Monitor Your Website
After the migration is final and complete, it’s essential to keep a close watch on your website to ascertain that it continues to function as expected. Regular monitoring involves checking server logs, collecting user feedback, and analyzing website analytics for any discrepancies. In instances where significant issues arise, having prompt access to your backups will help restore your site quickly and effectively.
Successfully migrating your website involves navigating several meticulous yet manageable steps that, if properly executed, lead to minimal service interruption. Additionally, maintaining a detailed log of your migration process is beneficial. Not only does it serve as a reference document for future migrations, but it also simplifies reversing any changes if the need arises. Understanding and implementing these strategies can ensure your migration process is controlled, efficient, and effective, allowing you to benefit from your new hosting environment without compromising on service quality.